pkgr
Documentation for pkgr is available at
https://metrumresearchgroup.github.io/pkgr/docs/.
What is pkgr?
pkgr is a rethinking of the way packages are managed in R. Namely, it embraces
the declarative philosophy of defining ideal state of the entire system, and working
towards achieving that objective. Furthermore, pkgr is built with a focus on reproducibility
and auditability of what is going on, a vital component for the pharmaceutical sciences + enterprises.
Why pkgr?
install.packages and friends such as remotes::install_github have a subtle weakness --
they are not good at controlling desired global state. There are some knobs that
can be turned, but overall their APIs are generally not what the user actually needs. Rather, they
are the mechanism by which the user can strive towards their needs, in a forceably iterative fashion.
With pkgr, you can, in a parallel-processed manner, do things like:
- Install a number of packages from various repositories, when specific packages must be pulled from specific repositories
- Install
Suggestedpackages only for a subset of all packages you'd like to install - Customize the installation behavior of a single package in a documentable and reproducible way
- Set custom Makevars for a package that persist across system installations
- Install source versions of some packages but binaries for others
- Understand how your R environment will be changed before performing an installation or action.
Today, packages are highly interwoven. Best practices have pushed towards small, well-scoped packages that do behaviors well. For example, rather than just having plyr, we now use dplyr+purrr to achieve the same set of responsibilities (dealing with dataframes + dealing with other list/vector objects in an iterative way). As such, it is becoming increasingly difficult to manage the set of packages in a transparent and robust way.
How pkgr compares with pak can be read about here.
pkgr in action

Getting Started
OSX and Linux installation
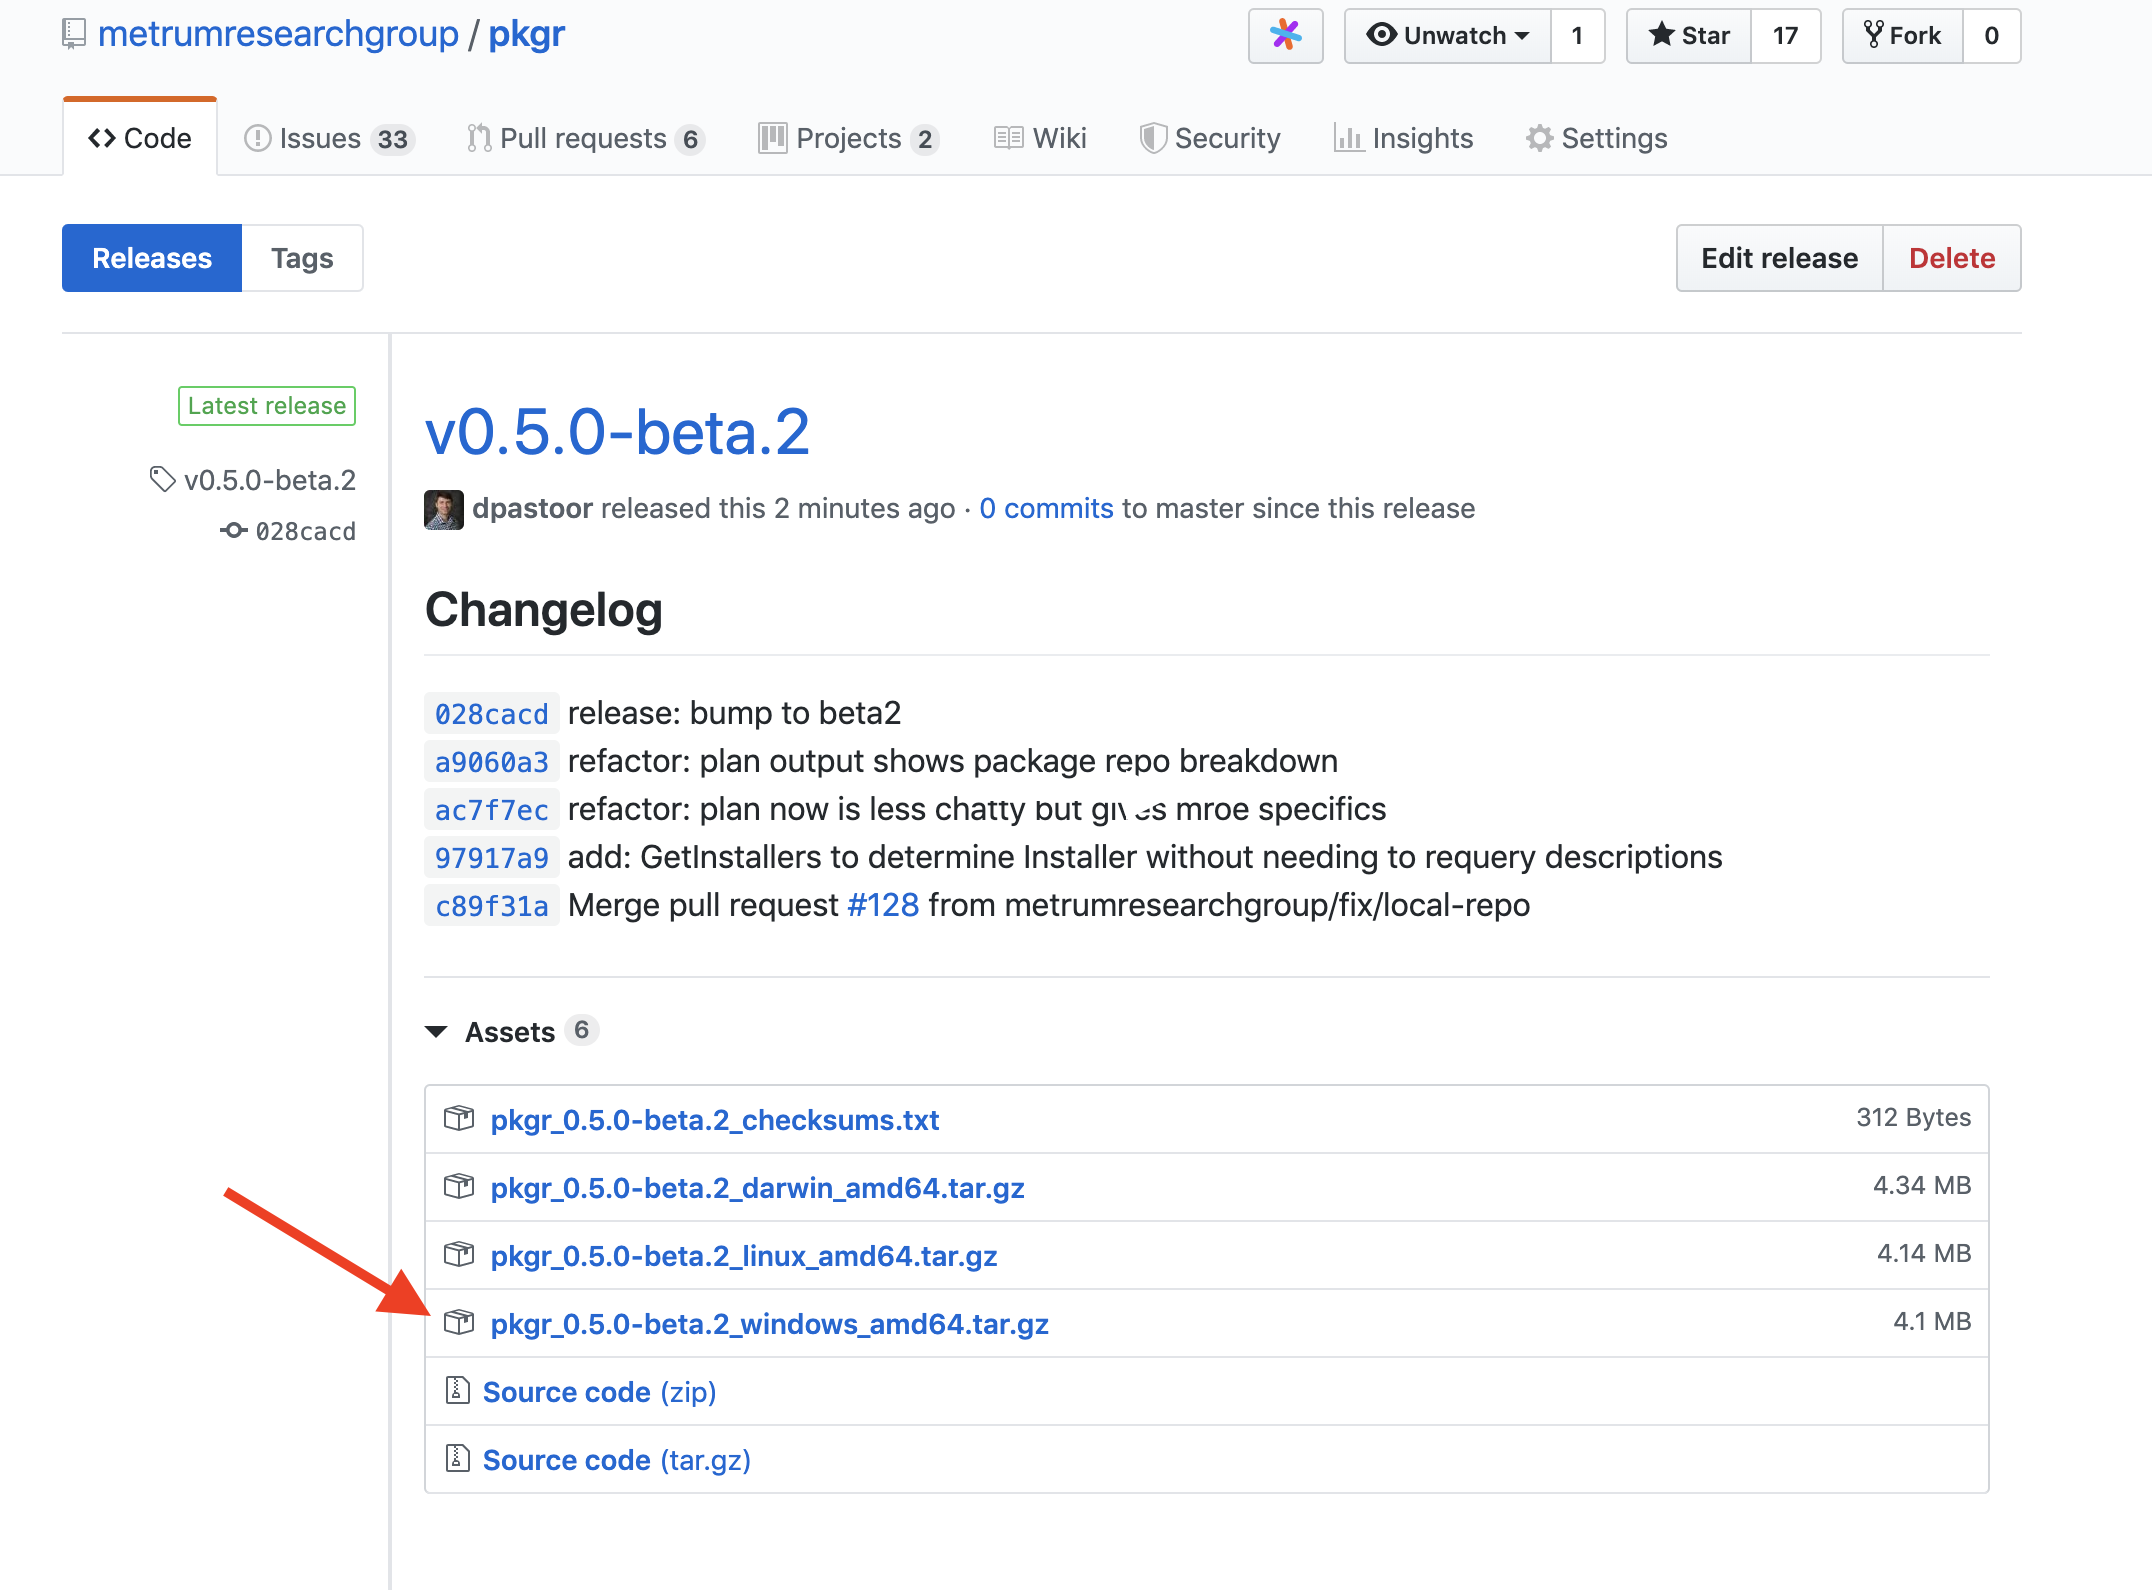
Visit the latest release on GitHub for instructions on installing pkgr.
Windows installation
Pkgr for Windows is supported, but we have not yet published on a Windows-compatible package manager like Chocolatey. For now, follow the steps below to install on Windows:
- Navigate to the latest release on GitHub
- Download the windows tarball
- Extract the contents of the windows tarball using a utility such as 7zip.
- If using 7zip, you may need to extract "twice" (once for the gzip layer, once for the tar layer). Ultimately, you're trying to pull out the
pkgr.exefile. - The destination folder should be on your Windows PATH. You may need to modify your Windows PATH environment variable to make this happen.
- If you do not already have a preferred way of accomplishing the above, we suggest creating a folder called "apps" in your home directory, then adding the "apps" directory to your PATH. From there, simply make sure that the
pkgr.exefile from the tarball ends up in your "apps/" directory.
- If using 7zip, you may need to extract "twice" (once for the gzip layer, once for the tar layer). Ultimately, you're trying to pull out the
How it works
For additional details of how to use pkgr, please see the user manual.
pkgr is a command line utility with several top level commands. The two primary commands are:
pkgr plan # show what would happen if install is run
pkgr install # install the packages specified in pkgr.yml
The actions are controlled by a configuration file that specifies the desired global state, namely, by defining the top level packages a user cares about, as well as specific configuration customizations.
For example, a pkgr configuration file might look like:
Version: 1
# top level packages
Packages:
  - rmarkdown
  - bitops
  - caTools
  - knitr
  - tidyverse
  - shiny
  - logrrr

# any repositories, order matters
Repos:
  - MPN: "https://mpn.metworx.com/snapshots/stable/2020-09-20"
  - CRAN: "https://cran.rstudio.com"

# path to install packages to
Library: "<path/to/install/library>"

# package specific customizations
Customizations:
  Packages:
    - tidyverse:
        Suggests: true
When you run pkgr install with this as your pkgr.yml file, pkgr will download and
install the packages rmarkdown, bitops, calToools, knitr, tidyverse, shiny, logrrr,
and any dependencies that those packages require. Since the "MPN" repository is listed first,
pkgr will search "MPN" for those packages before it looks to "CRAN".
If you want to see everything that pkgr is going to install before actually installing, simply run pkgr plan and take a look.
How about a more complex example?
Let's say you're working on an OSX machine.
On CRAN, for OSX, the package devtools (v2.x) is currently available as source,
but the binary is still v1.13. You want the latest version of devtools, so you'll need to build it from source.
However, you still want to install from binaries (the default behavior for OSX) for everything else in your environment.
With pkgr, you can set a Customization for devtools using Type: source
Version: 1
# top level packages
Packages:
  - rmarkdown
  - shiny
  - devtools

# any repositories, order matters
Repos:
  - MPN: "https://mpn.metworx.com/snapshots/stable/2020-09-20"

Library: "path/to/install/library"

# can cache both the source and installed binary versions of packages
Cache: "path/to/global/cache"

# can log the actions and outcomes to a file for debugging and auditing
Logging:
  all: pkgr-log.log
  install: install-only-log.log
  overwrite: true

Customizations:
  Packages:
    - devtools:
        Type: source
With this customization in your config file, pkgr will install from sources for devtools. For everything else, the default install behavior will stay in effect.
For a third example, here is a configuration that also pulls from bioconductor:
Version: 1
# top level packages
Packages:
  - magrittr
  - rlang
  - ggplot2
  - dplyr
  - tidyr
  - plotly
  - VennDiagram
  - aws.s3
  - data.table
  - forcats
  - preprocessCore
  - loomR
  - ggthemes
  - reshape

# any repositories, order matters
Repos:
  - MPN: "https://mpn.metworx.com/snapshots/stable/2020-09-20"
  - BioCsoft: "https://bioconductor.org/packages/3.8/bioc"
  - BioCann: "https://bioconductor.org/packages/3.8/data/annotation"
  - BioCexp: "https://bioconductor.org/packages/3.8/data/experiment"
  - BioCworkflows: "https://bioconductor.org/packages/3.8/workflows"

# path to install packages to
Library: pkgs

Cache: pkgcache
Logging:
  all: pkgr-log.log
  install: install-only-log.log
  overwrite: true
pkgr and packrat and renv
Pkgr is not a replacement for Packrat/renv -- Pkgr is complementary to packrat/renv.
packrat/renv are tools to capture the state
of your R environment and isolate it from outside modification.
Where Packrat often falls short, however, is in the restoration said environment.
Running packrat::restore() restores packages in an iterative fashion, which is a
time-consuming process that doesn't always play nice with packages hosted outside
of CRAN (such as packages hosted on GitHub). Additionally, since renv uses install.packages
under the hood, each call to install.packages is still treated as an isolated procedure rather than as a part of
a holistic effort. This means that the installation process does not stop and inform
the user when a package fails to install properly. In this situation, renv/pkgr continues to install
what packages it can without regard for how this might affect the package ecosystem when those
individual installation failures are later resolved.
Pkgr solves these issues by:
- Installing packages quickly in parallelized graph (determined by the dependency tree)
- Allowing users to control things like what repo a given package is retrieved from and what Makevars it is built with
- Showing users a holistic view of their R Environment (
pkgr inspect --deps --tree) and how that environment would be changed on another install (pkgr plan) - Providing timely error messages and halting the installation process immediately when something goes wrong during the installation process (such as a package not being available, a repository being unreachable, etc.)
Development
To run the test suite, you can invoke scripts/run-unit-tests and
scripts/run-integration-tests directly or via make vt-test.
After updating a subcommand, regenerate the Markdown documentation at
docs/commands by running make vt-gen-docs. See make vt-help and
internal/valtools/README.md for more details on the validation tooling.
The setup for building the documentation site is described in docs/site/README.md.